
Keeping with what’s becoming tradition with these blog posts I’ve attempted something different for this months iteration. That being the use of the program ‘Blender’ to enhance photographs with a three-dimensional element, achieving the effect of 3D render objects into a scene in Blender and exporting them as photos, as well as animations of which you can preview on my YouTube channel.
For the readers whom are unaware of what Blender, it is an open source free program which is widely used among an array of users in both personal and commercial settings sense to create 3D renders and animations for video games, film and other projects such as this. In this blog post I won’t be going into depth on how I achieved this effect however, I’ve created a playlist on my YouTube Channel on which you can watch the guides that helped create this content.
The inspiration for this months post was initially generated by my early begging of learning Blender. I’ve recently been using the program to broaden my skills as well enhance the quality of content by creating a 3D animated logo, of which you can no see being used in my intro of my YouTube Videos. With the thirst to broaden my knowledge I began researching into the capabilities of the program and stumbled upon the YouTuber’s whom has created renders using photography and I thought it would be a great implement into my photography work.
What also spurred on my inspiration was my recent uploading, sorting and documenting of my A-Level work. During my time as a College Student I experimented with many programs, mainly Photoshop, which in turn meant I created pieces of artwork such as this. Photoshop is a great program for expressing creativity, but still has its draw backs in comparison to ‘Blender’ when it comes to 3D rendering. I thought it important to attempt generating other pieces of work with the theme of implementing 3D objects to photographs.
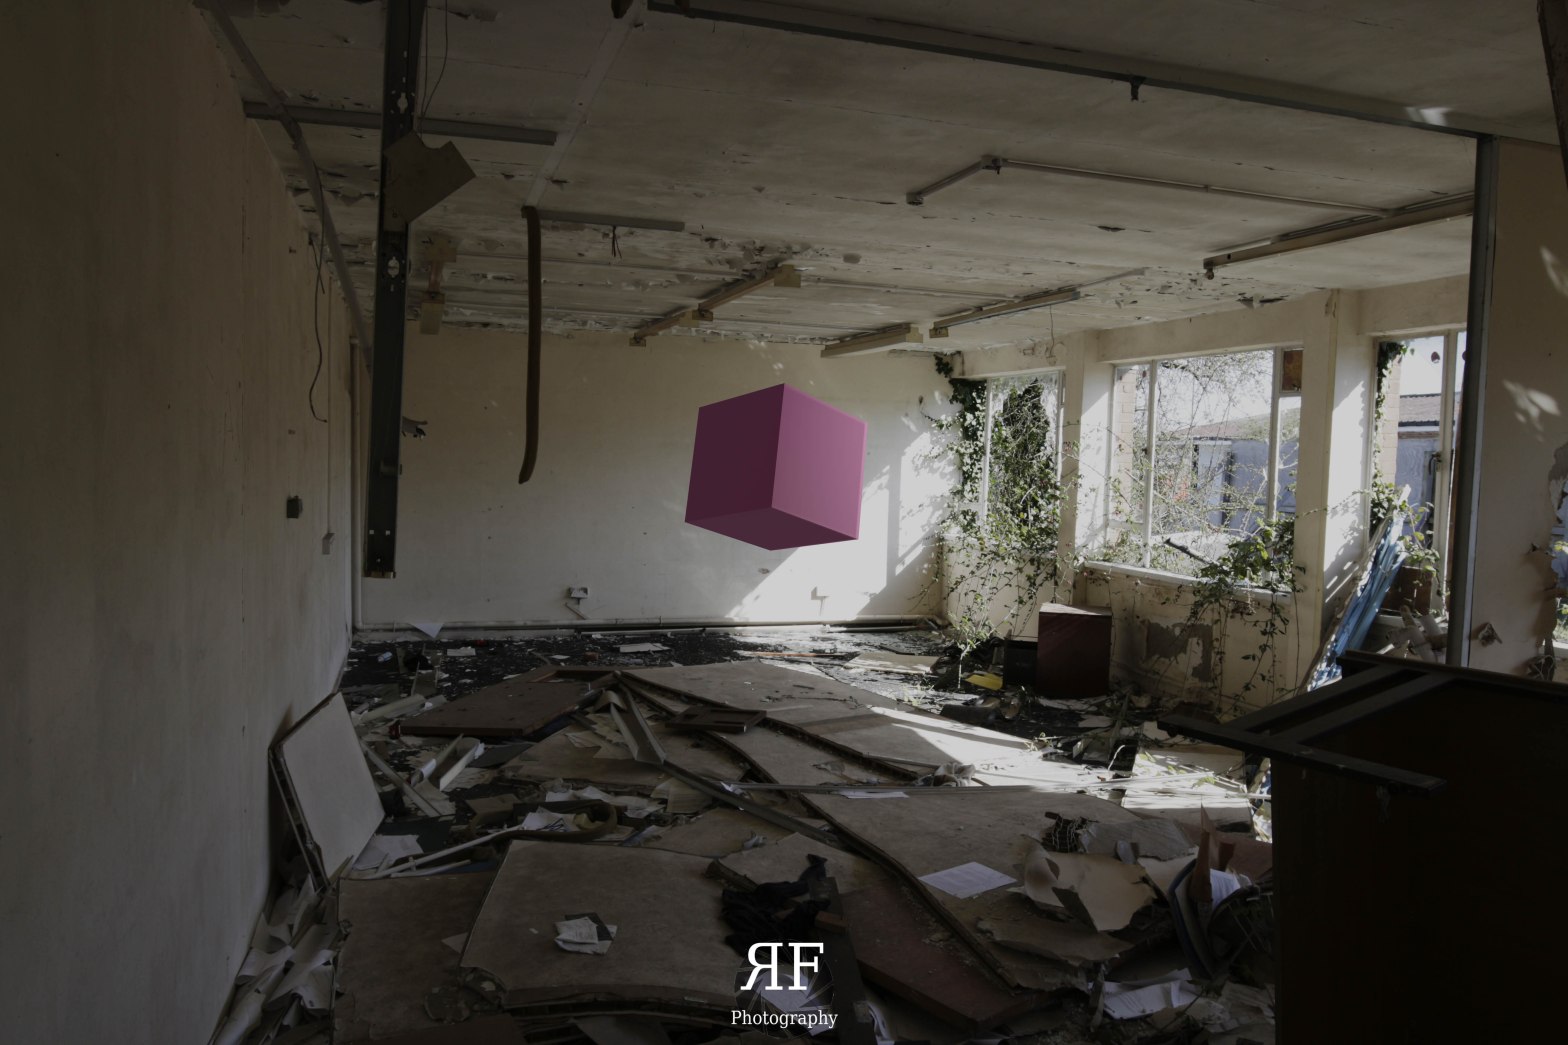
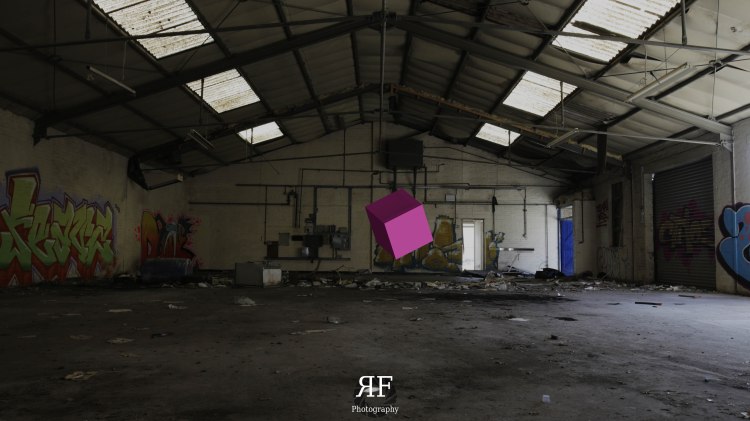
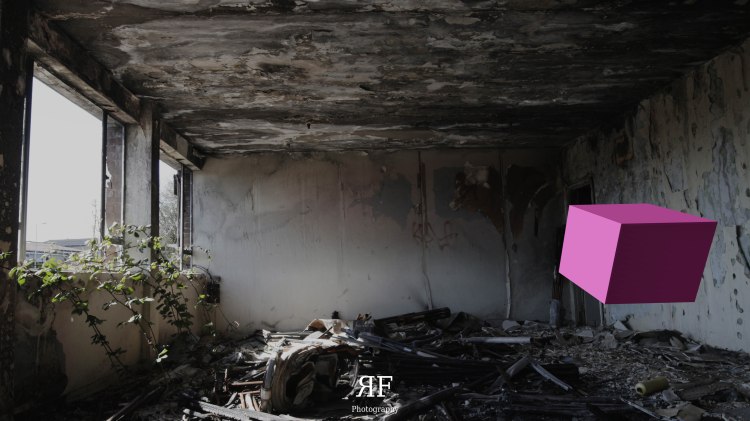
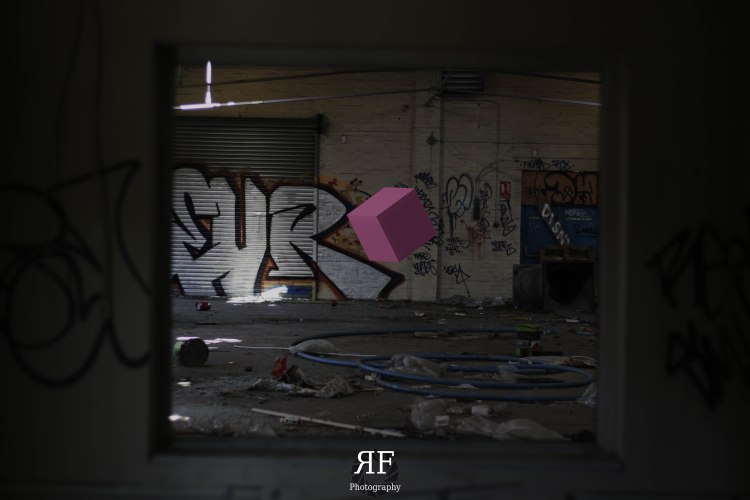
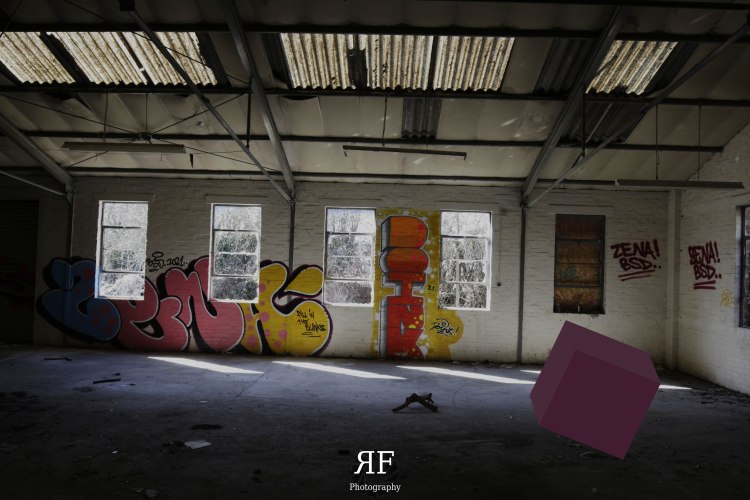
Finally in inspiration terms, I revisited the location of where I conducted my ‘Urban Exploration’ post and video. This is where I sourced the images for this months post, I thought of it as a great subject matter as it has clear open spaces with a rich scenery which could compliment a render, as well it features parallel lines of both the X, Y, & Z axis which is useful for when creating pieces of work such as these.
Conclusion
This months mini-project has been a challenge for certain, learning a new program from scratch is never easy and conforming yourself to deadlines whilst being a novice defiantly adds to the pressure, hence why this post is a day late.
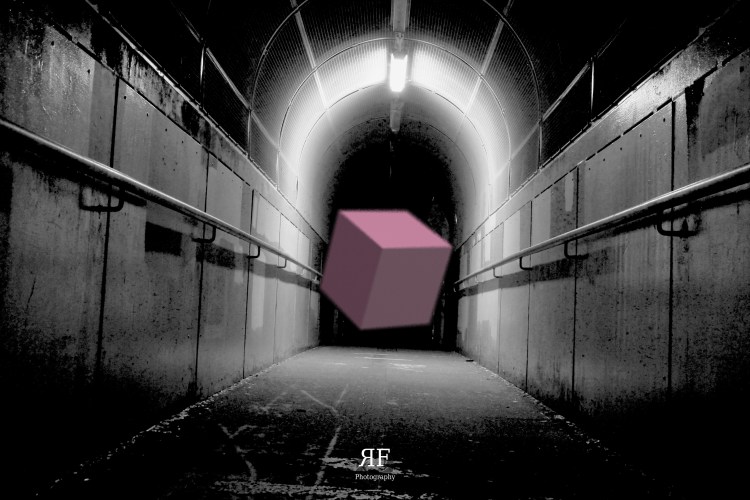
But In terms of how the images came out I’m rather pleased in how they look and work with the scene, as they make for a focal point in the image’s but still complement the bold scenery which is full of texture, colour and varying degrees of light.
What I believe the image’s lack is a more subtle presence of the post 3D object and is what I struggled the most with in terms of Blender skills. Configuring light to give a realistic effect within the photo was certainly challenging and is what I believe lets down the image, as it highlights post production feel to the image as inst as cohesive with the scene. This can be pro-dominantly seen in the shadows and light reflection of the ‘Cubes’.
The other improvement I wish I made was regarding the textures of the Cubes, I firmly believe with more time to learn the program I could of made powerful textures that would fit better within the scene and thus aide the emersion of the image.
However this hasn’t deterred me from using the program again in fact I thoroughly enjoyed this months project and will defiantly be returning to this style of photography / mix media again in future projects and blog posts.
